一、在不修改RPA默认路径的情况下
1. 在线安装
C:\iS-RPA\plugin\Com.Isearch.Func.Python\Scripts\pip install  python
# 如果不是默认路径就使用变量
#      --target=F:\z_text\Com.Isearch.Func.Python\Lib\site-packages
2. 离线安装
2.1. whl 安装
import pip._internal as pi
print(pi.pep425tags.get_supported())
# 结果
[('cp36', 'cp36m', 'win32'), ('cp36', 'none', 'win32'), ('py3', 'none', 'win32'), ('cp36', 'none', 'any'), ('cp3', 'none', 'any'), ('py36', 'none', 'any'), ('py3', 'none', 'any'), ('py35', 'none', 'any'), ('py34', 'none', 'any'), ('py33', 'none', 'any'), ('py32', 'none', 'any'), ('py31', 'none', 'any'), ('py30', 'none', 'any')]
C:\iS-RPA\plugin\Com.Isearch.Func.Python\Scripts\pip install python_docx-0.8.6-py2.py3-none-any.whl

#
2.2. 离线安装方法 2
2.2.1 下载目录
2.2.2. 下载安装教程
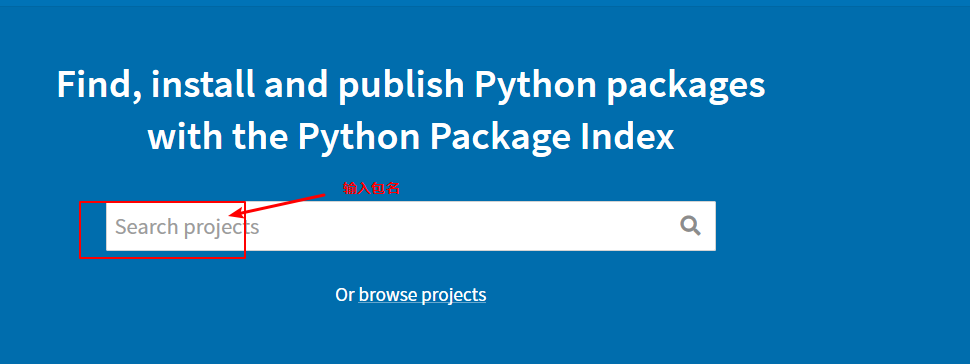
- 在网站上输入想要离线安装的包名
- 点击下载想要安装的包
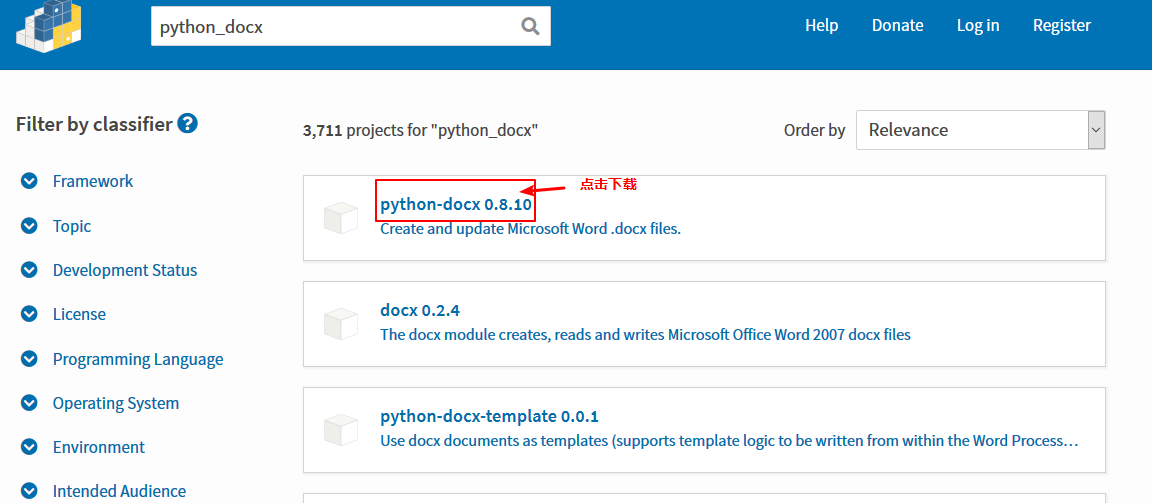
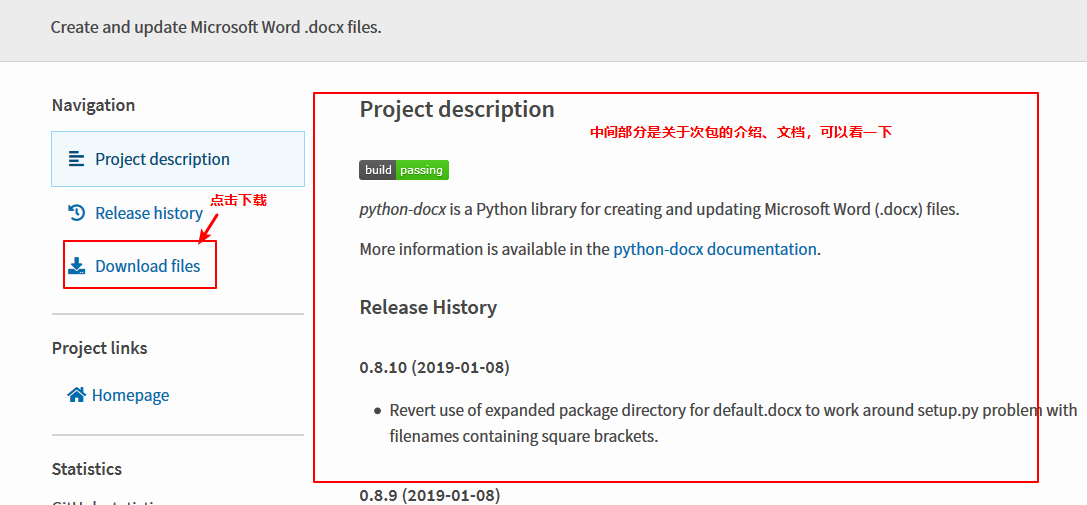
- 点击
Download file 下载包
- 点击下载
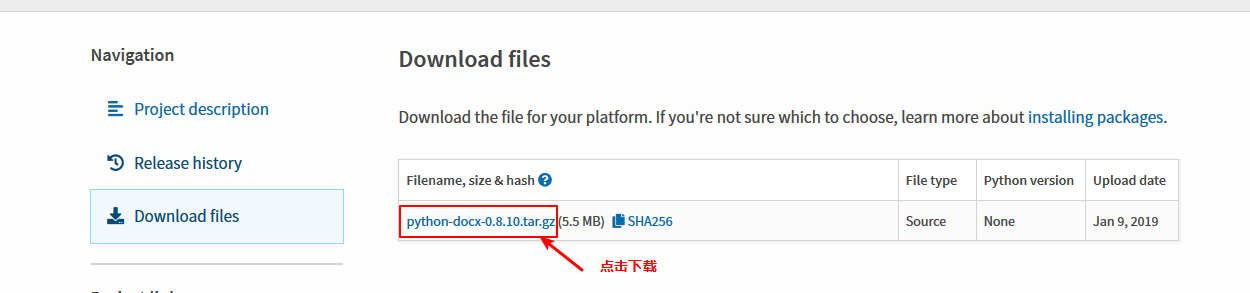
- 将下载的
XXX.tar.gz 包 直接解压即可

- 在
Windows 按快捷键 Ctrl + R 启动运行, 并且在运行中输入 cmd
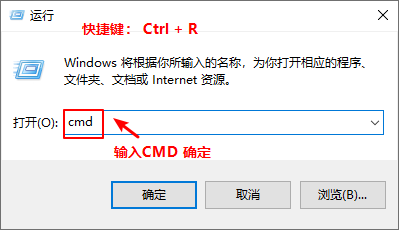
- 输入一下命令进行安装
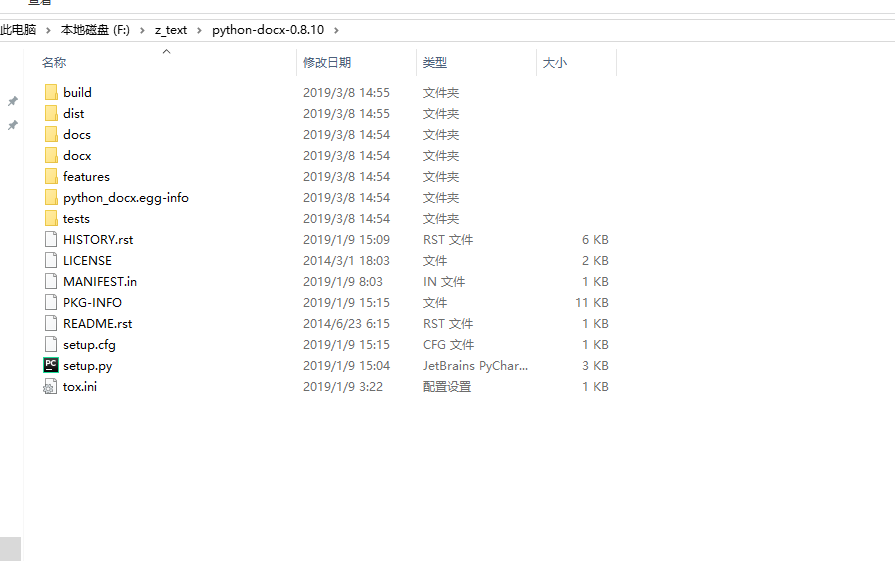
# 1. 进入离线包的目录
cd  python_docx
# 2. 安装离线包
C:\iS-RPA\plugin\Com.Isearch.Func.Python\python setup.py install


👍🏻👍🏻挺全的。也可以直接将库文件拷贝到 …\plugin\Com.Isearch.Func.Python\Lib\site-packages 目录下,在设计器里引用